From 3D model to your 3D Printer
In our previous article you could read how you can find a 3D design, or of course if you make something yourself it's a different story.
If you're at the point where you have an .stl file, either made yourself or downloaded from one of the many websites on the internet. Then you're only 1 step away from printing your 3D model.
STL 3D model
Your printer actually doesn't understand stl files, these files describe what your model looks like, like all the geometric data for example. Your printer wants to know HOW it should print the file, and it can only understand this by receiving the 3D model in layers. Where each layer works from the bottom up.
To make this happen you need special software, called "slicers". There are many slicers to find on the market, often also available from your own printer manufacturer.
Like for example FlashPrint for FlashForge printers Or Bambu Studio for Bambu printers.
We at Easy3DPrint are personally a fan of OrcaSlicer and the reason for this is that it's open source, and it's pretty easy to configure. Download OrcaSlicer
So in this article we use OrcaSlicer as an example.
OrcaSlicer
To install your printer you need to press the button:
Add your 3D printer
This brings up a new screen, to search for your printer.
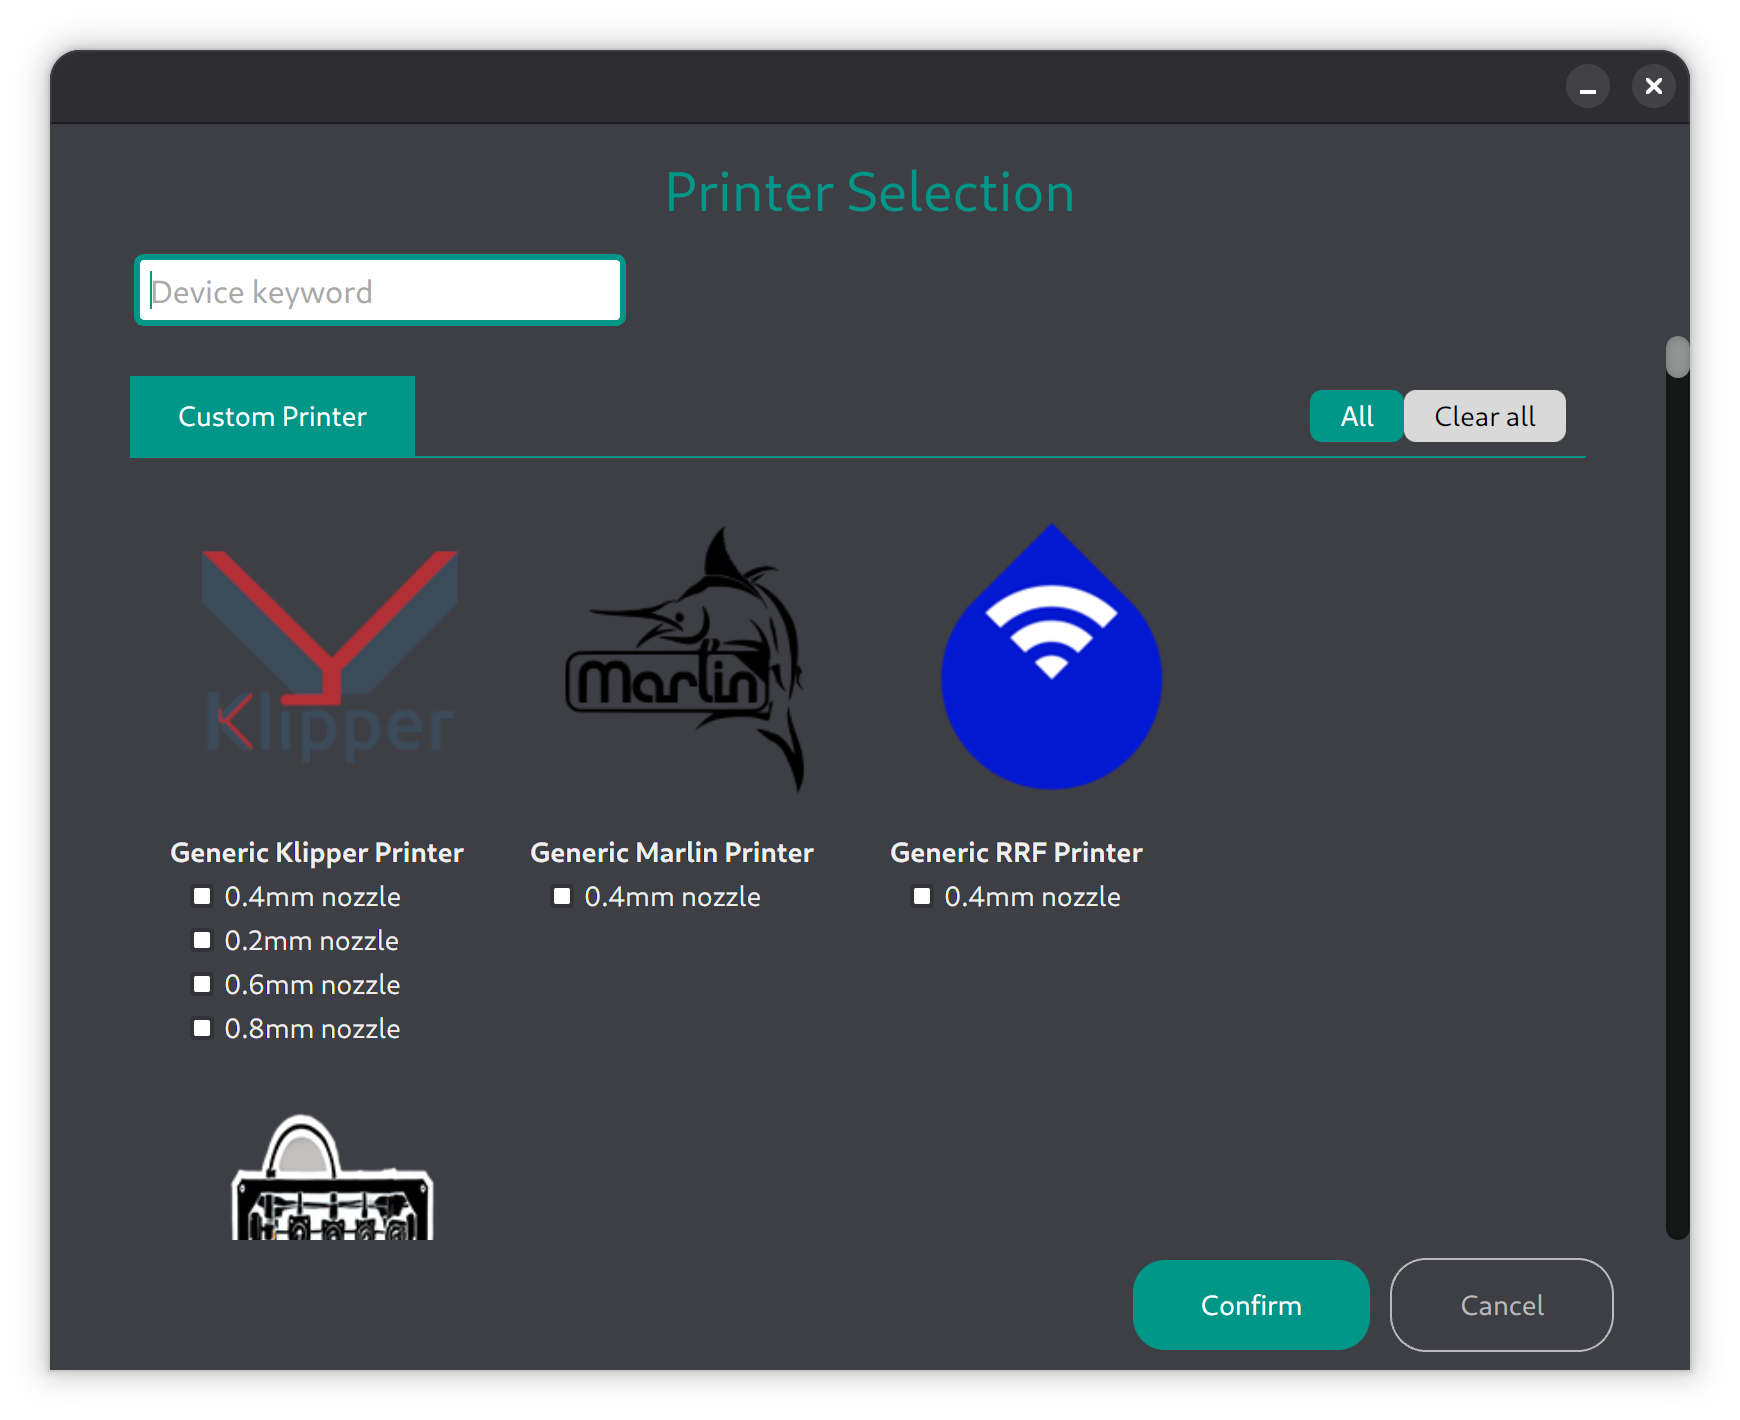
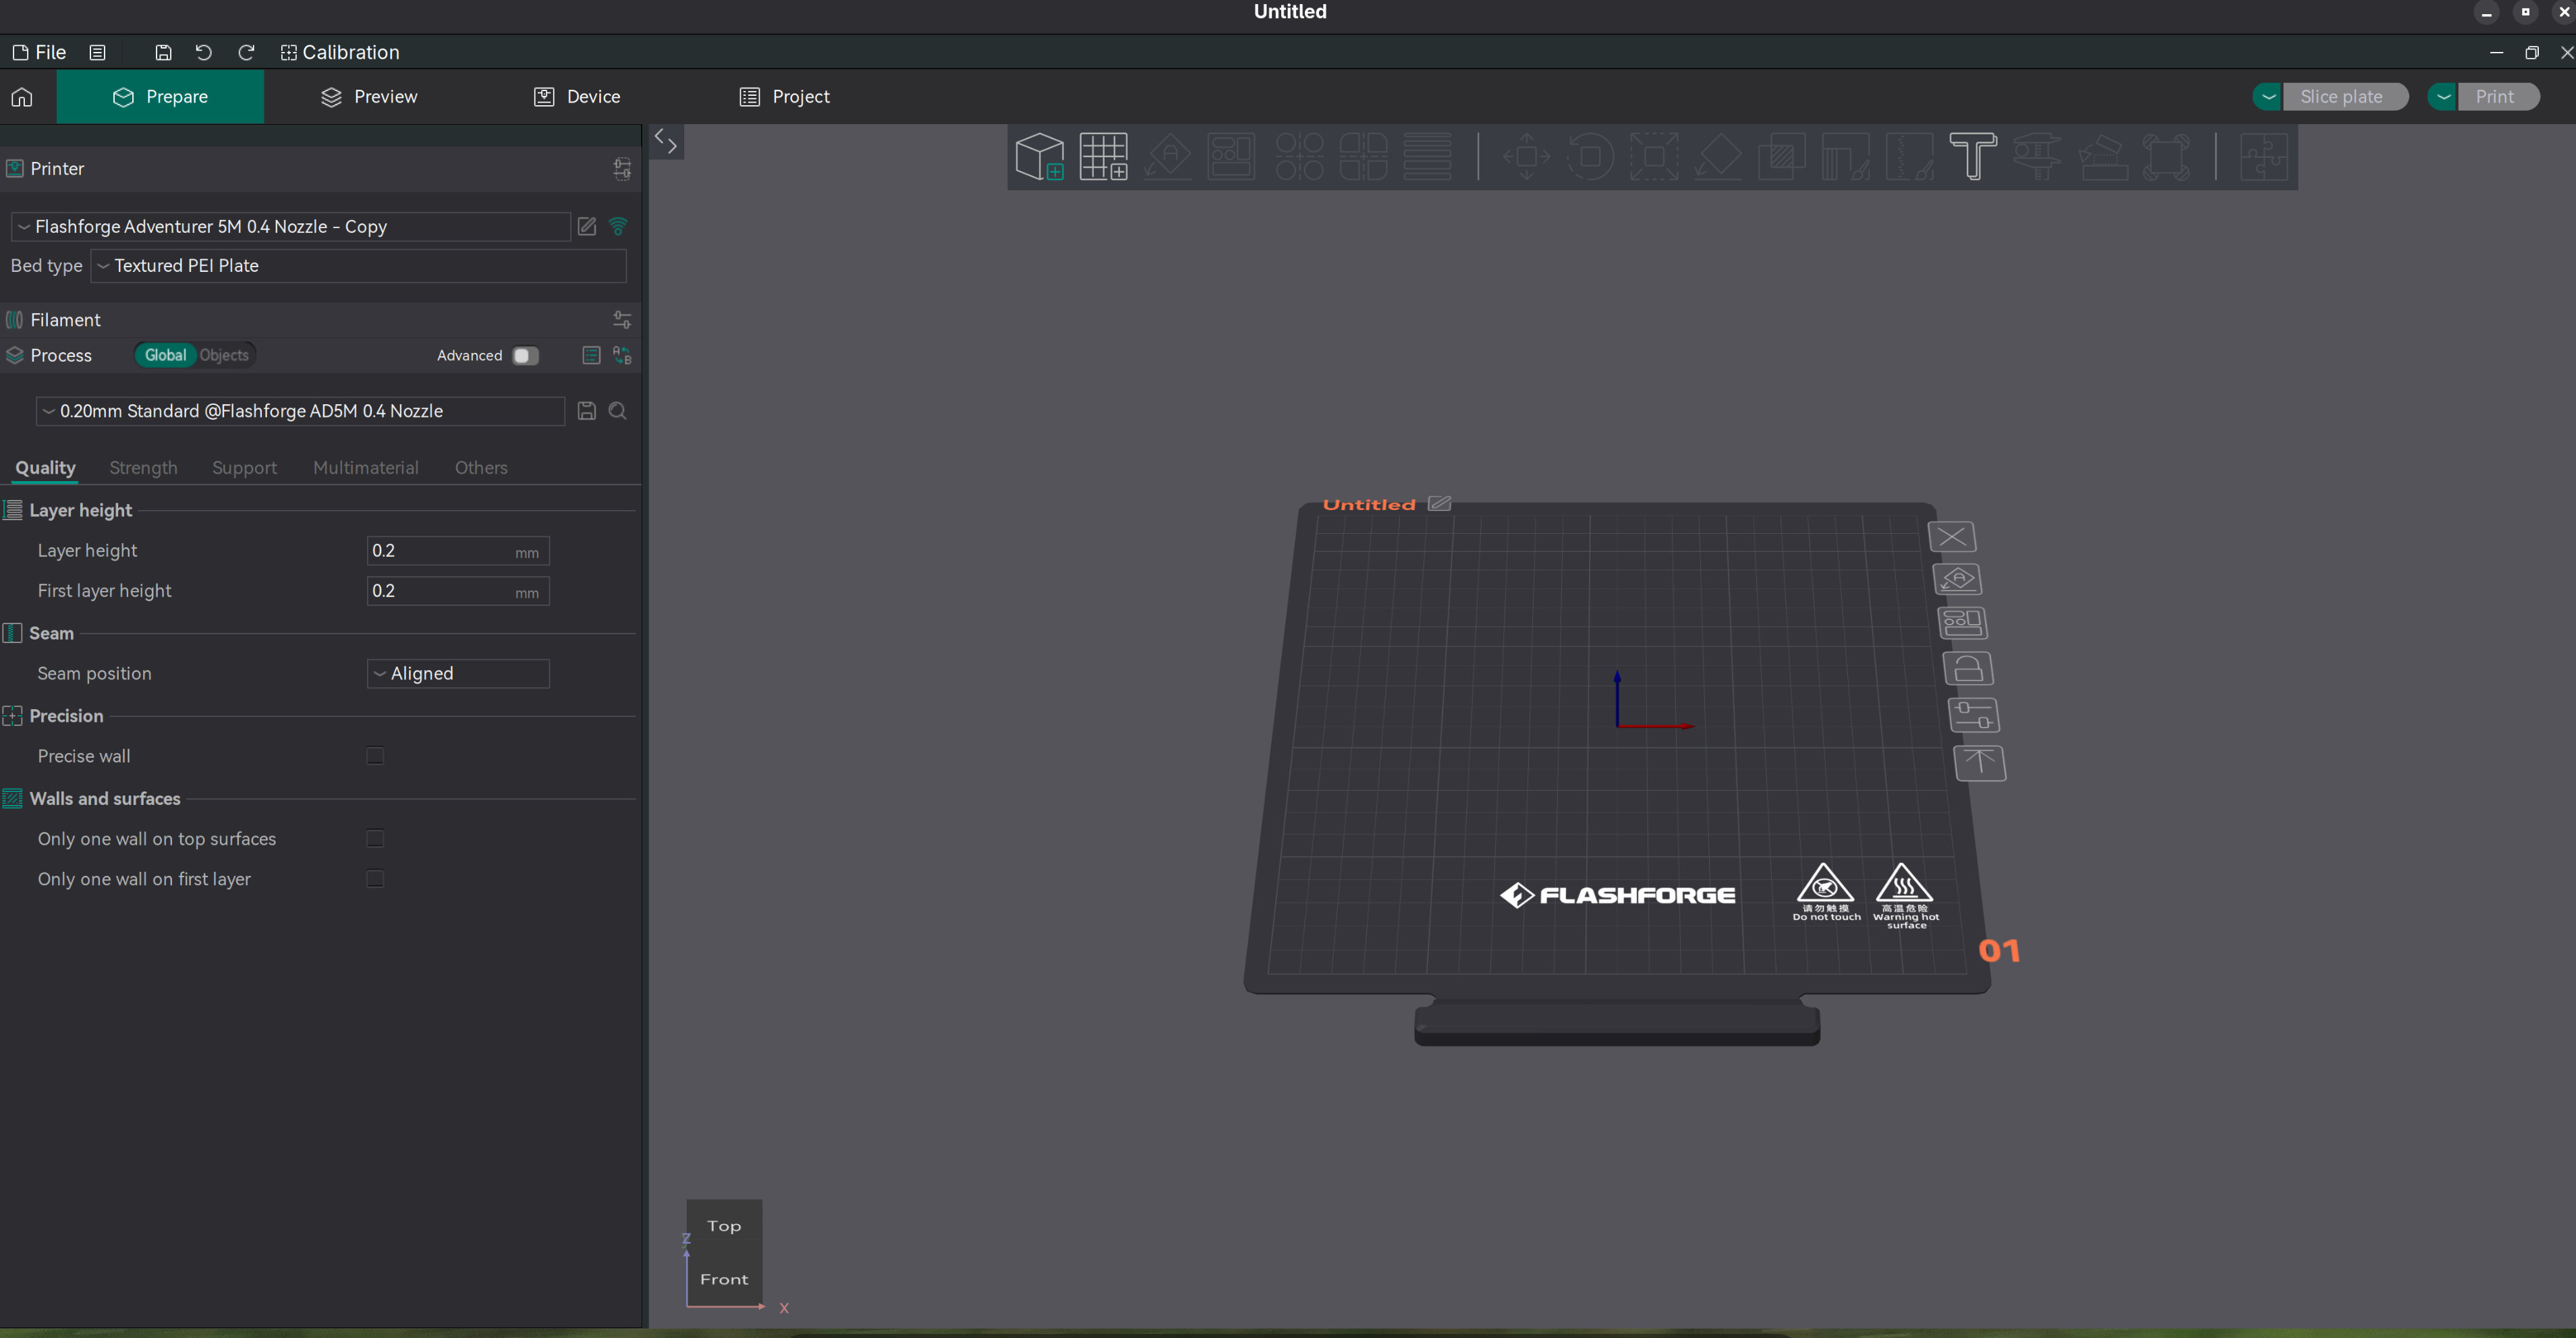
This adds a new profile. In my case, the FlashForge Adventurer 5M 0.4 Nozzle
After adding your printer, you'll actually want to adjust a thing or two. In the case of the Flashforge for example, the "bed type" is a "Texture PEI plate" and not a "Smooth High Temp Plate". And honestly the rest is fine. These are settings that differ per printer, can't figure it out? Get in touch with us! contact
Done!
Setting up your 3D printer is actually done at this point, you really only do this once, and next time everything will already be set up correctly.
Add Filament
Now you basically do the same for your filament:
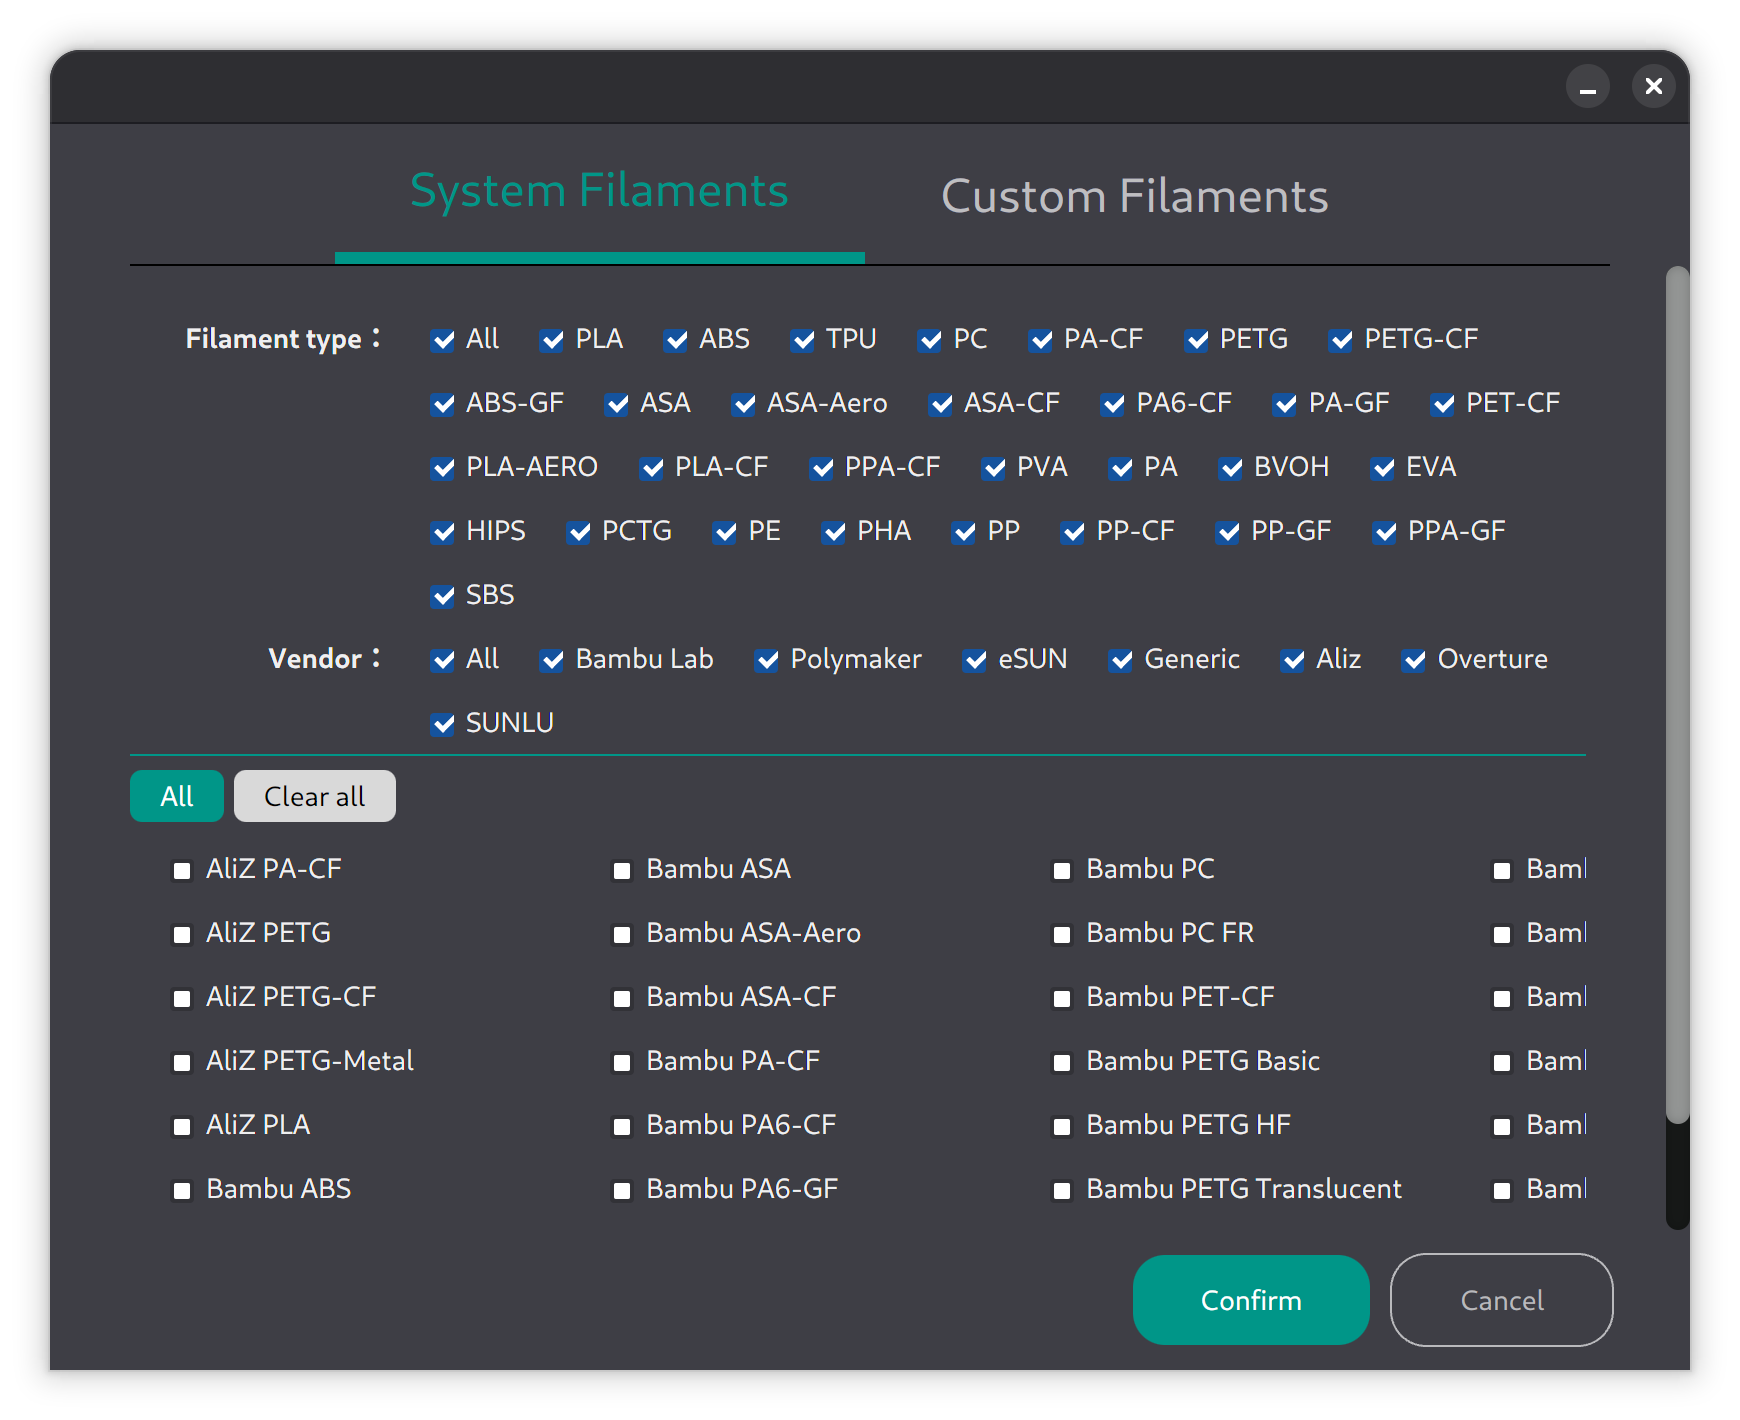
For most of the filament we sell the "Generic PLA" profile will do just fine. When you switch filament, you might need to select a different profile as well, keep an eye on that!
Import
Now go via File -> Import -> Import 3MF/STL/ETC and select your previously downloaded .stl file. It will now show up on your bed on screen.
Process
In OrcaSlicer you might want to configure some specific settings for your current print, think for example if your print is floating in the air, it'll need support. Or if it has a small base, your print might slide off the bed. There are some techniques to prevent this. These are things you set here. Check our Frequently asked questions on how to do this.
Let's print!
Once that's done, you can click Preview. Here you can see for example how much PLA will be used, what the supports look like.
 Click Print and Upload, and your printer will get started!